Follow the steps to connect your Microsoft Azure active directory to Nibol
Open Nibol > go to the Integrations section within the Company settings
Click on Activate next to the Microsoft Entra ID Active Directory integration.
Click on Connect your account and complete the authentication flow > Be careful, to proceed with the installation of the integration, you must have an administrator account in Microsoft Azure.
Once that's done, go ahead and fill out the integration activation request > Send request

N.B.: To install this integration we must contact the technical department of your company.
The instructions that we will give to your company's technical department to activate the integration are as follows:
Prepare your directory in Microsoft Azure > you will need to map the members of your directory that will need to be synchronized on Nibol
Our technicians will verify that the values entered work correctly and finally they will complete the synchronization
How to prepare the directory in Microsoft Azure
First of all, we recommend that you analyze the directory and identify 2 attributes (suggested OnPremises ones) that will be used as filters for:
include only users who will use Nibol
specify the role (admin or employee)
We leave you a list of attributes available to use at this link: https://learn.microsoft.com/en-us/graph/api/resources/user?view=graph-rest-1.0#properties
If you haven't done it before, log in to Azure platform and assign Nibol roles (Employee or Administrator) through your Azure directory. In particular, you must associate a unique value within the profile of each individual user that allows them to obtain Administrator access credentials.
Find an example below:

In this example, all members with the value JobTitle="Manager” (in your case, use a wording of your choice) will have access to the Administrator interface.
Synchronize your directory
From now on, your Nibol directory is integrated with your Microsoft Azure one. This means that when a new member is added to Azure, they will be automatically added to Nibol.
If you need to manually start the Active Directory synchronization, you just need to open the integration details page and click the Synchronize now button. Microsoft synchronization may take a few minutes.
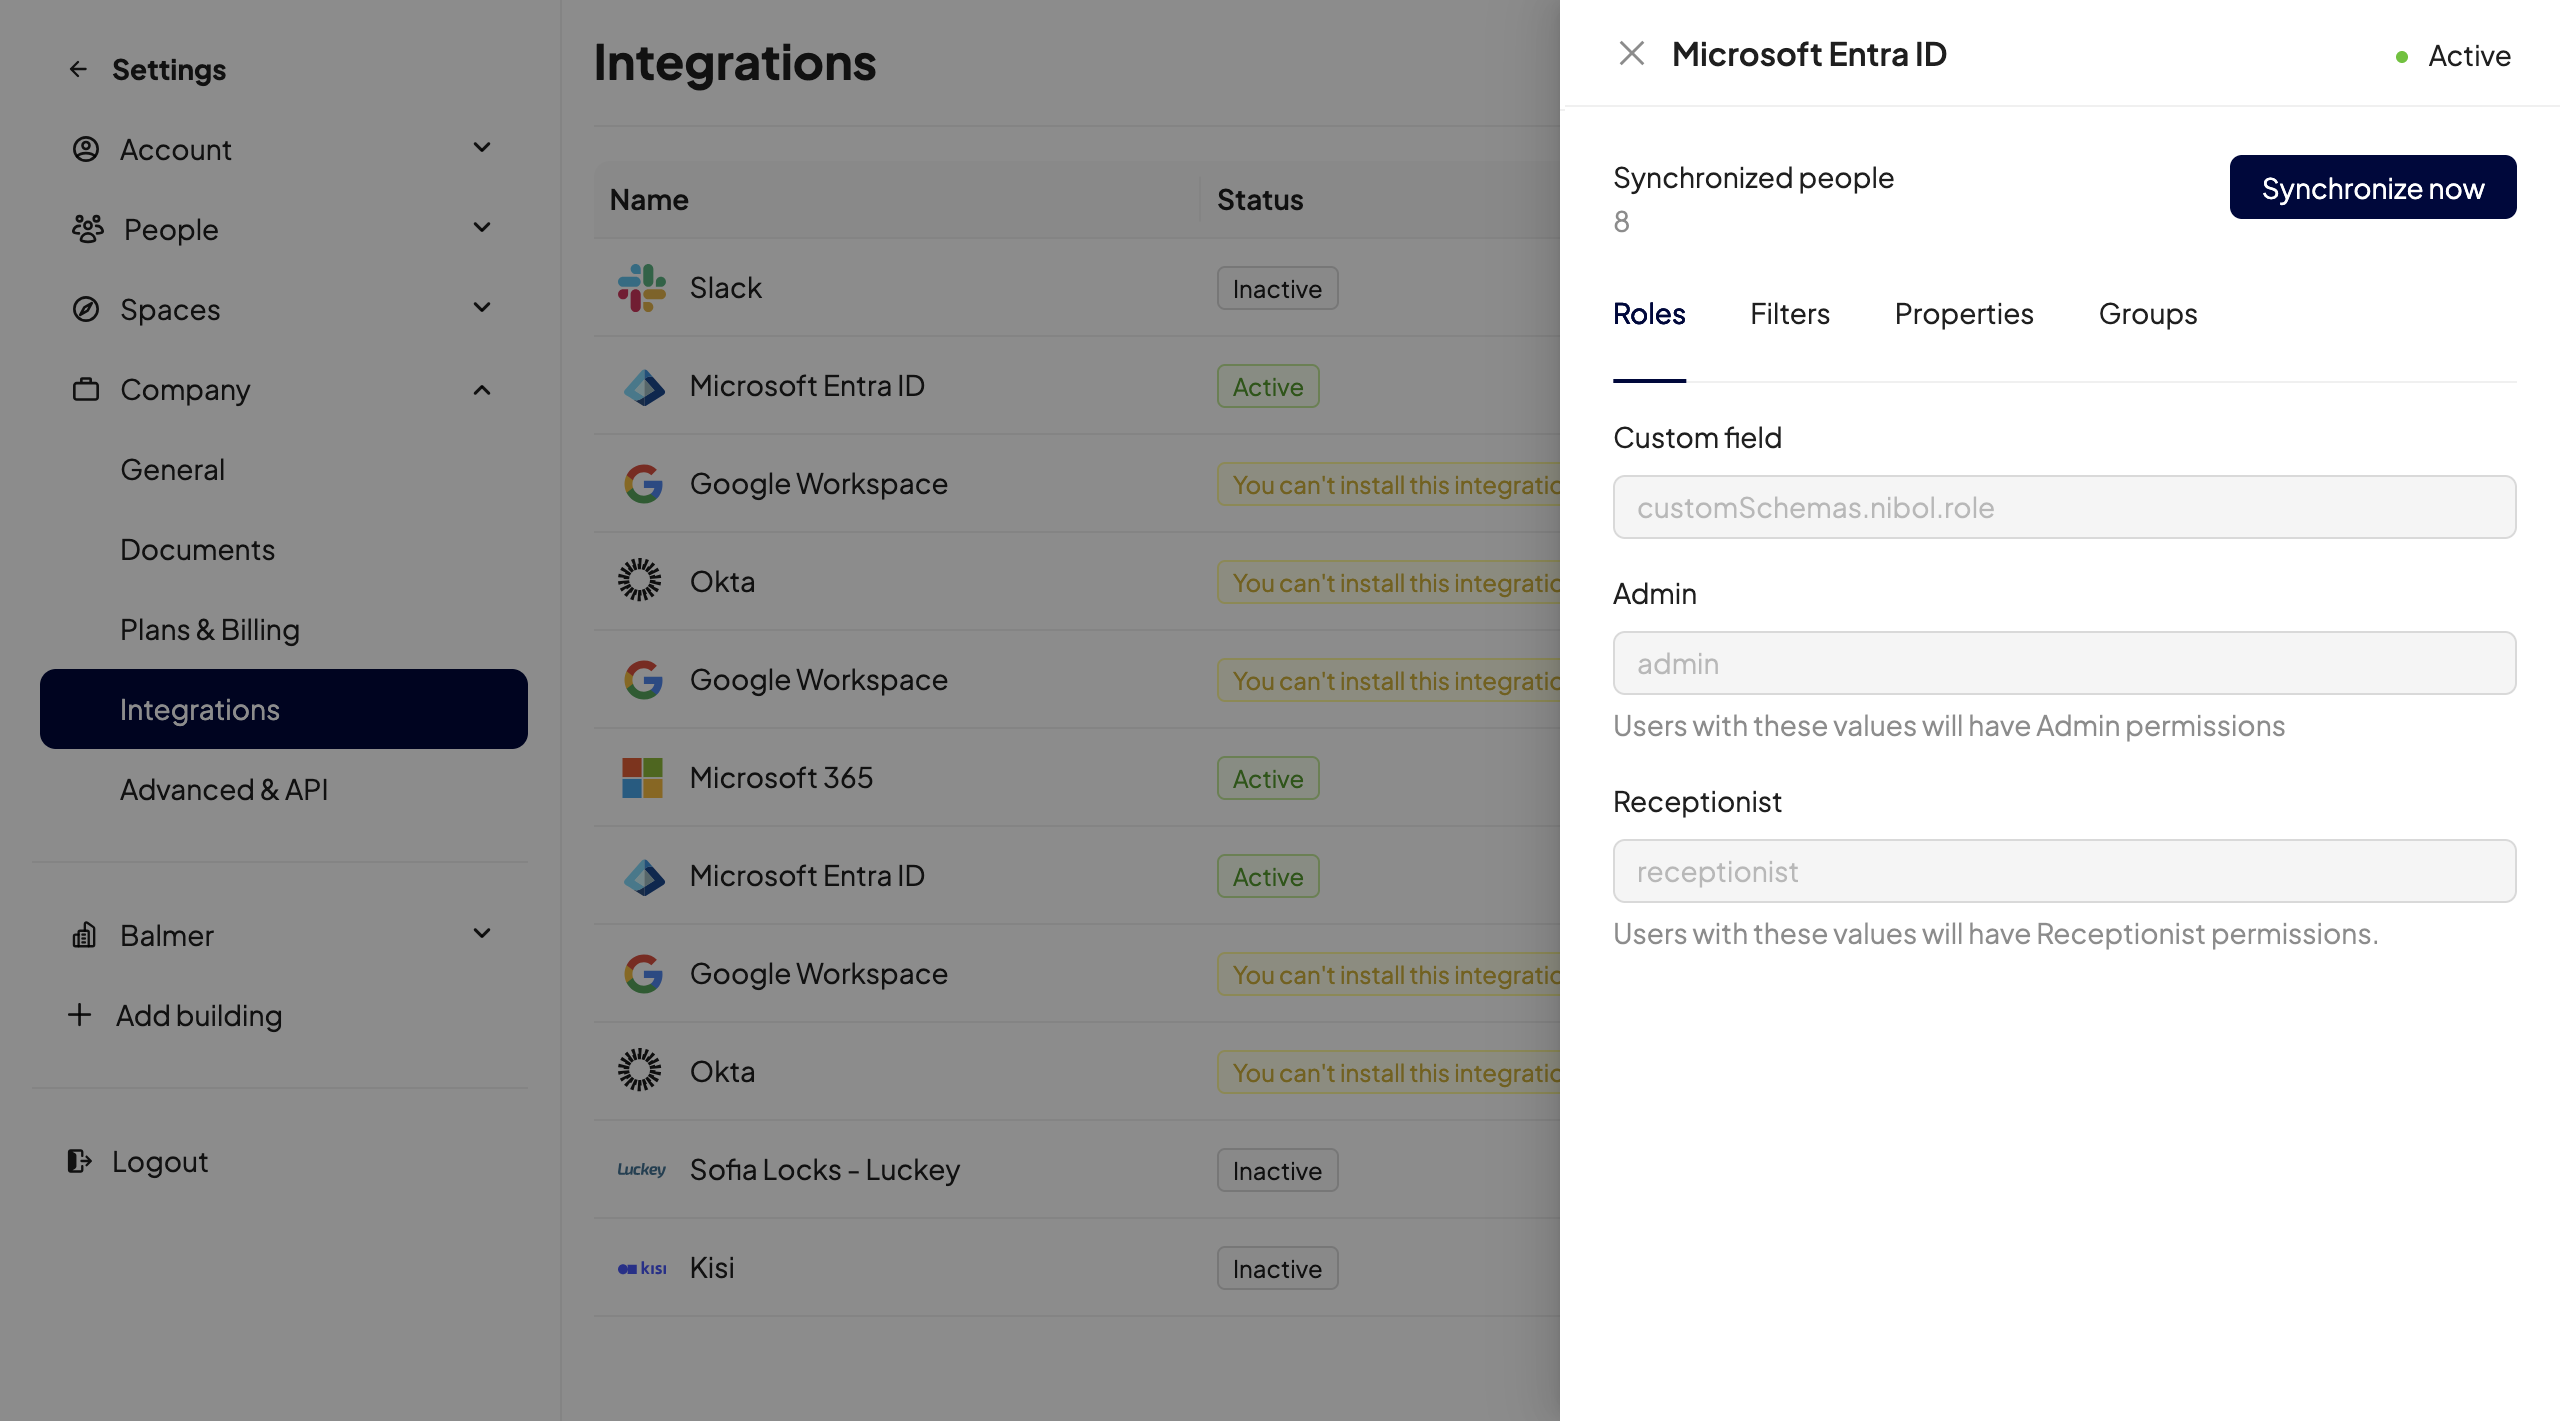
On this page you will also find:
The attributes and values used to assign Roles to users on Nibol (administrator and receptionist);
The user inclusion and/or exclusion Filters, if used;
The Properties that are synchronized for each user;
The synchronization status of the Microsoft Entra ID Groups (true/false).
If, together with the integrated Active Directory, you have also enabled login to Nibol through Single Sign On, you will only have to notify the new members of their addition to Nibol. If, on the other hand, you have kept the login with email and password, we will take care of sending a welcome email to your employees!
Attention: when you need to delete the administrator user on Microsoft and Nibol, it is very important, before performing this action, to write to us at our address: support@nibol.com
What happens when you delete a user from your Active Directory If there is a manual
cancellation or dictated by a failed synchronization with Active Directory, the users involved will not immediately lose all the reservations made in the future. In fact, these will be saved for 24 hours, time needed to restore a lack of sync, for example.
If, on the other hand, the cancellation of the user is intentional, know that you can always cancel any future reservations as administrators. Find here the guide in this regard.