Once you have paired your device with Nibol Welcome, enable visitor acceptance and customise your visitor settings.
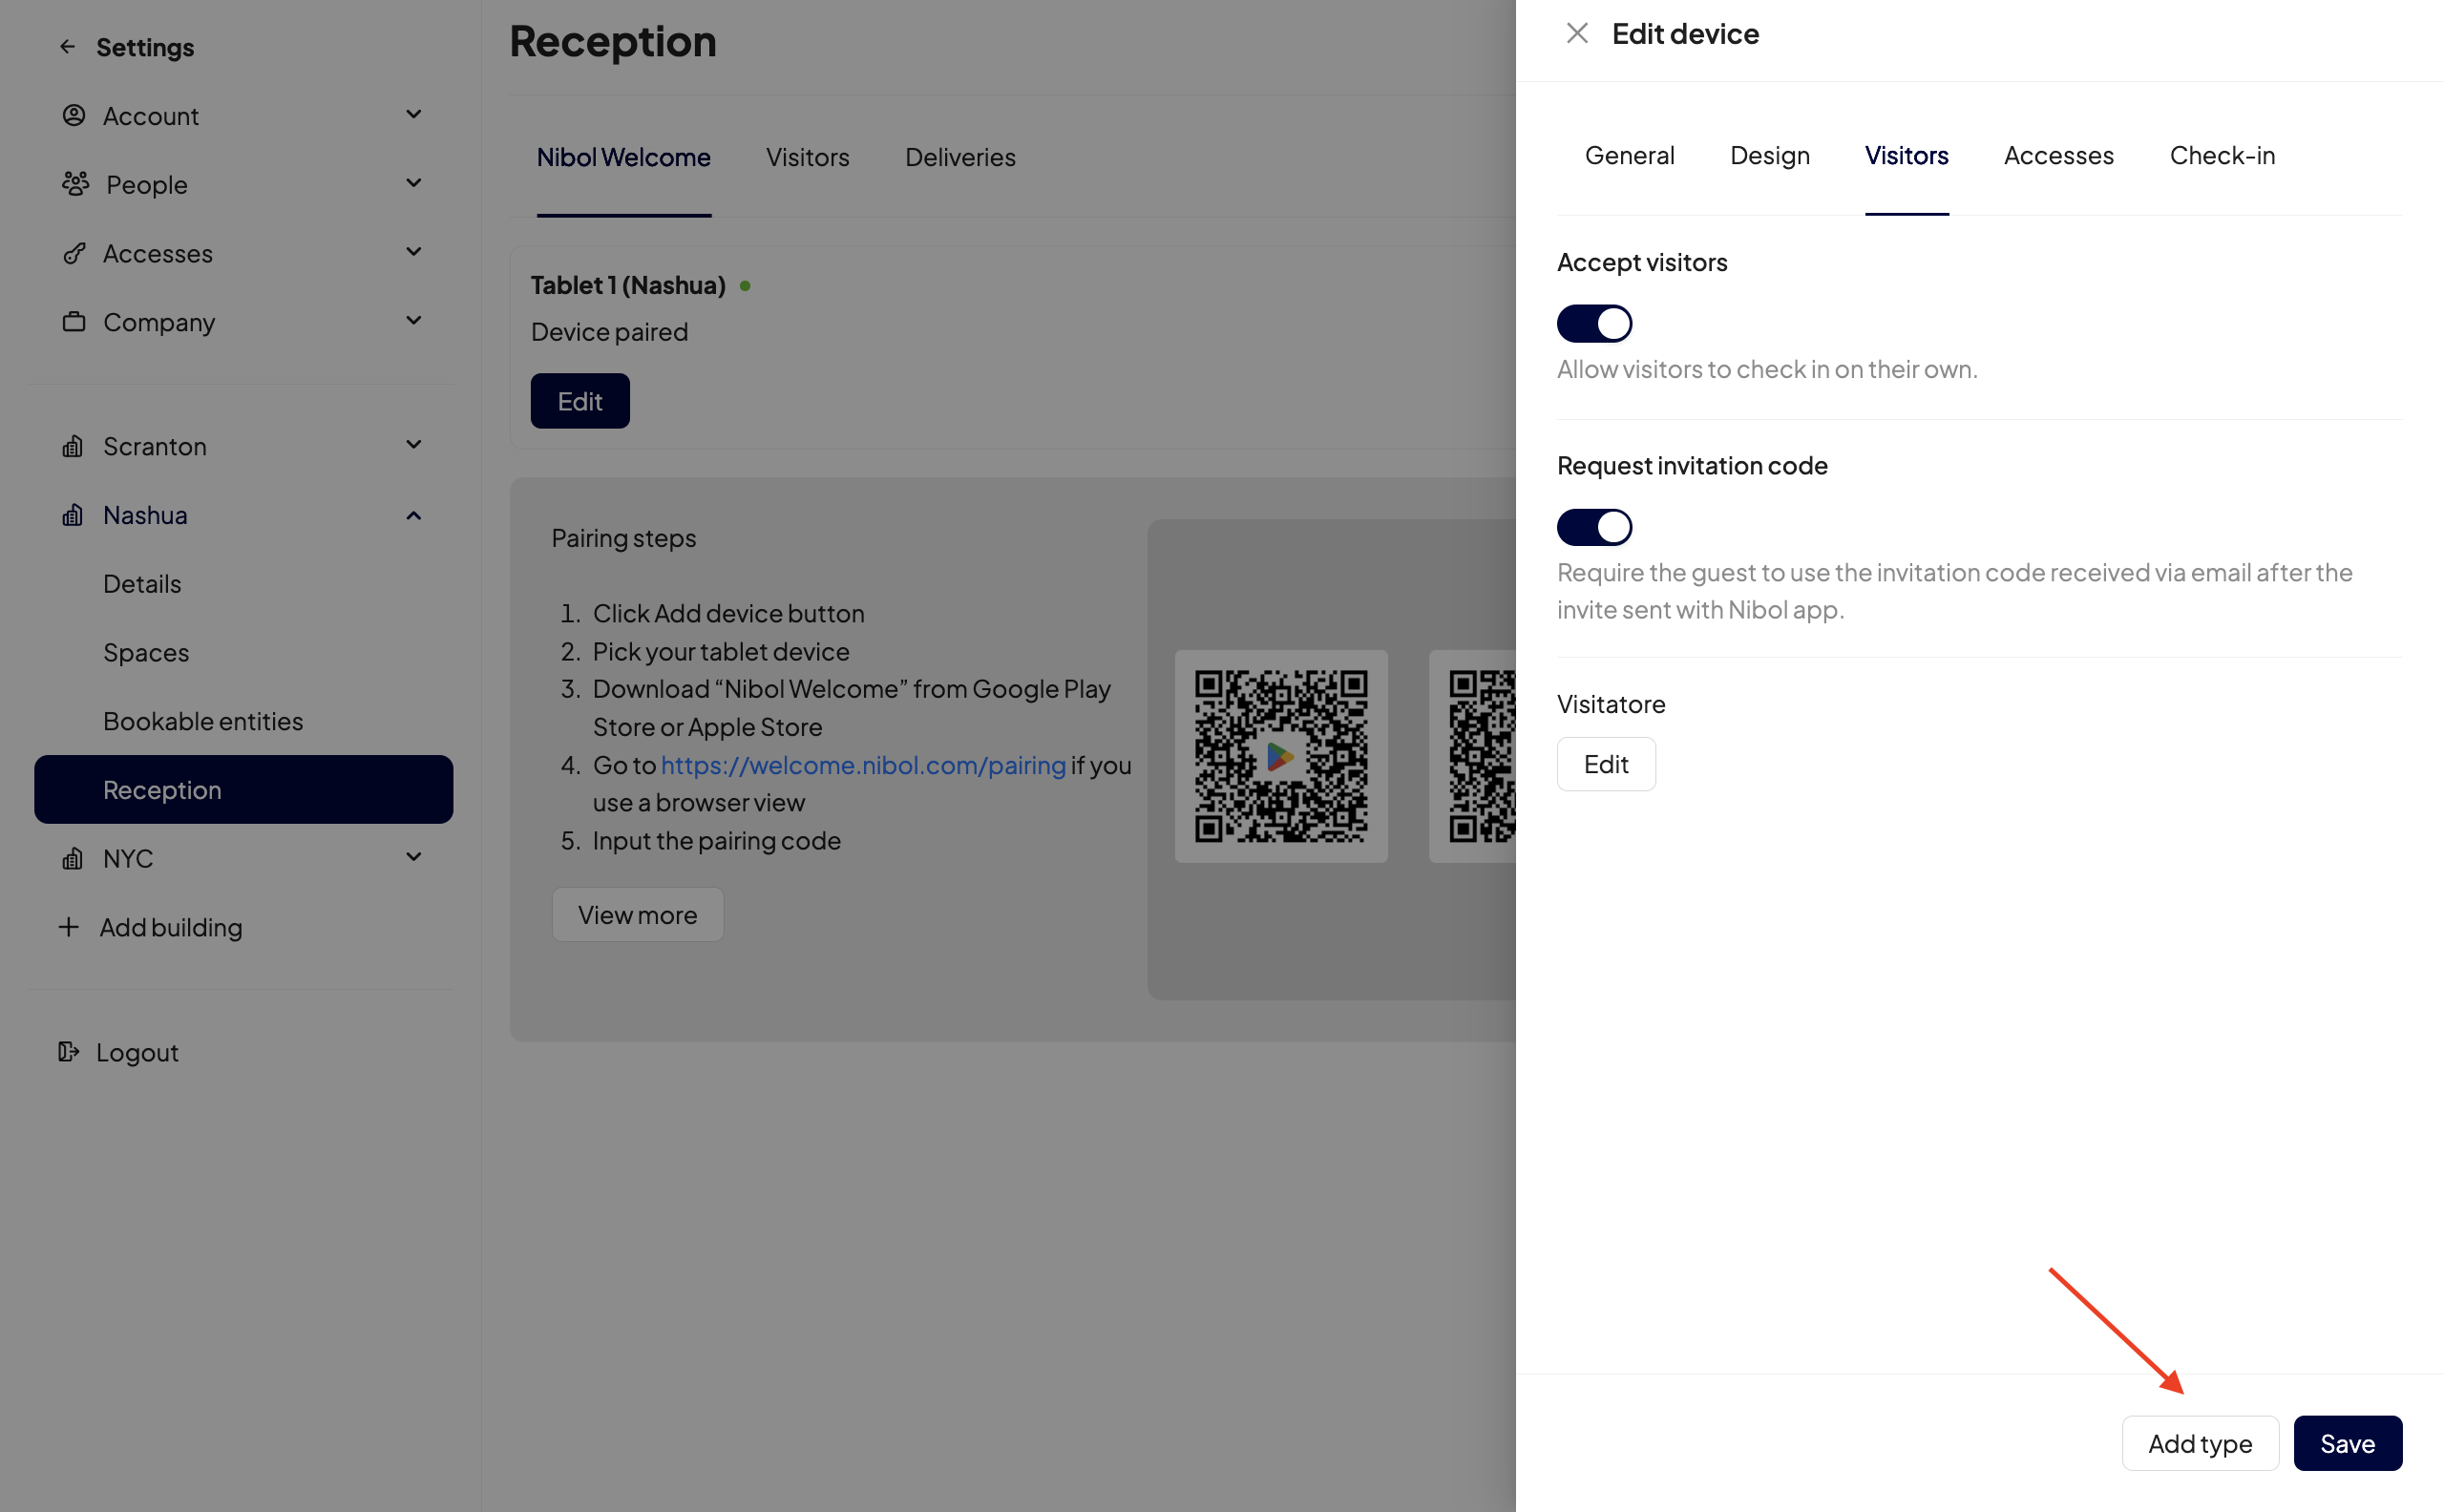
To do this, simply click on the Edit device button > go to Visitors, here:
Enable the ‘Accept visitors’ option and also ‘Request invitation code’ if you want the guest to use the invitation code received by email from the person who invited them using the Nibol app.
You can add more than one visitor by clicking on the Add type button at the bottom right.
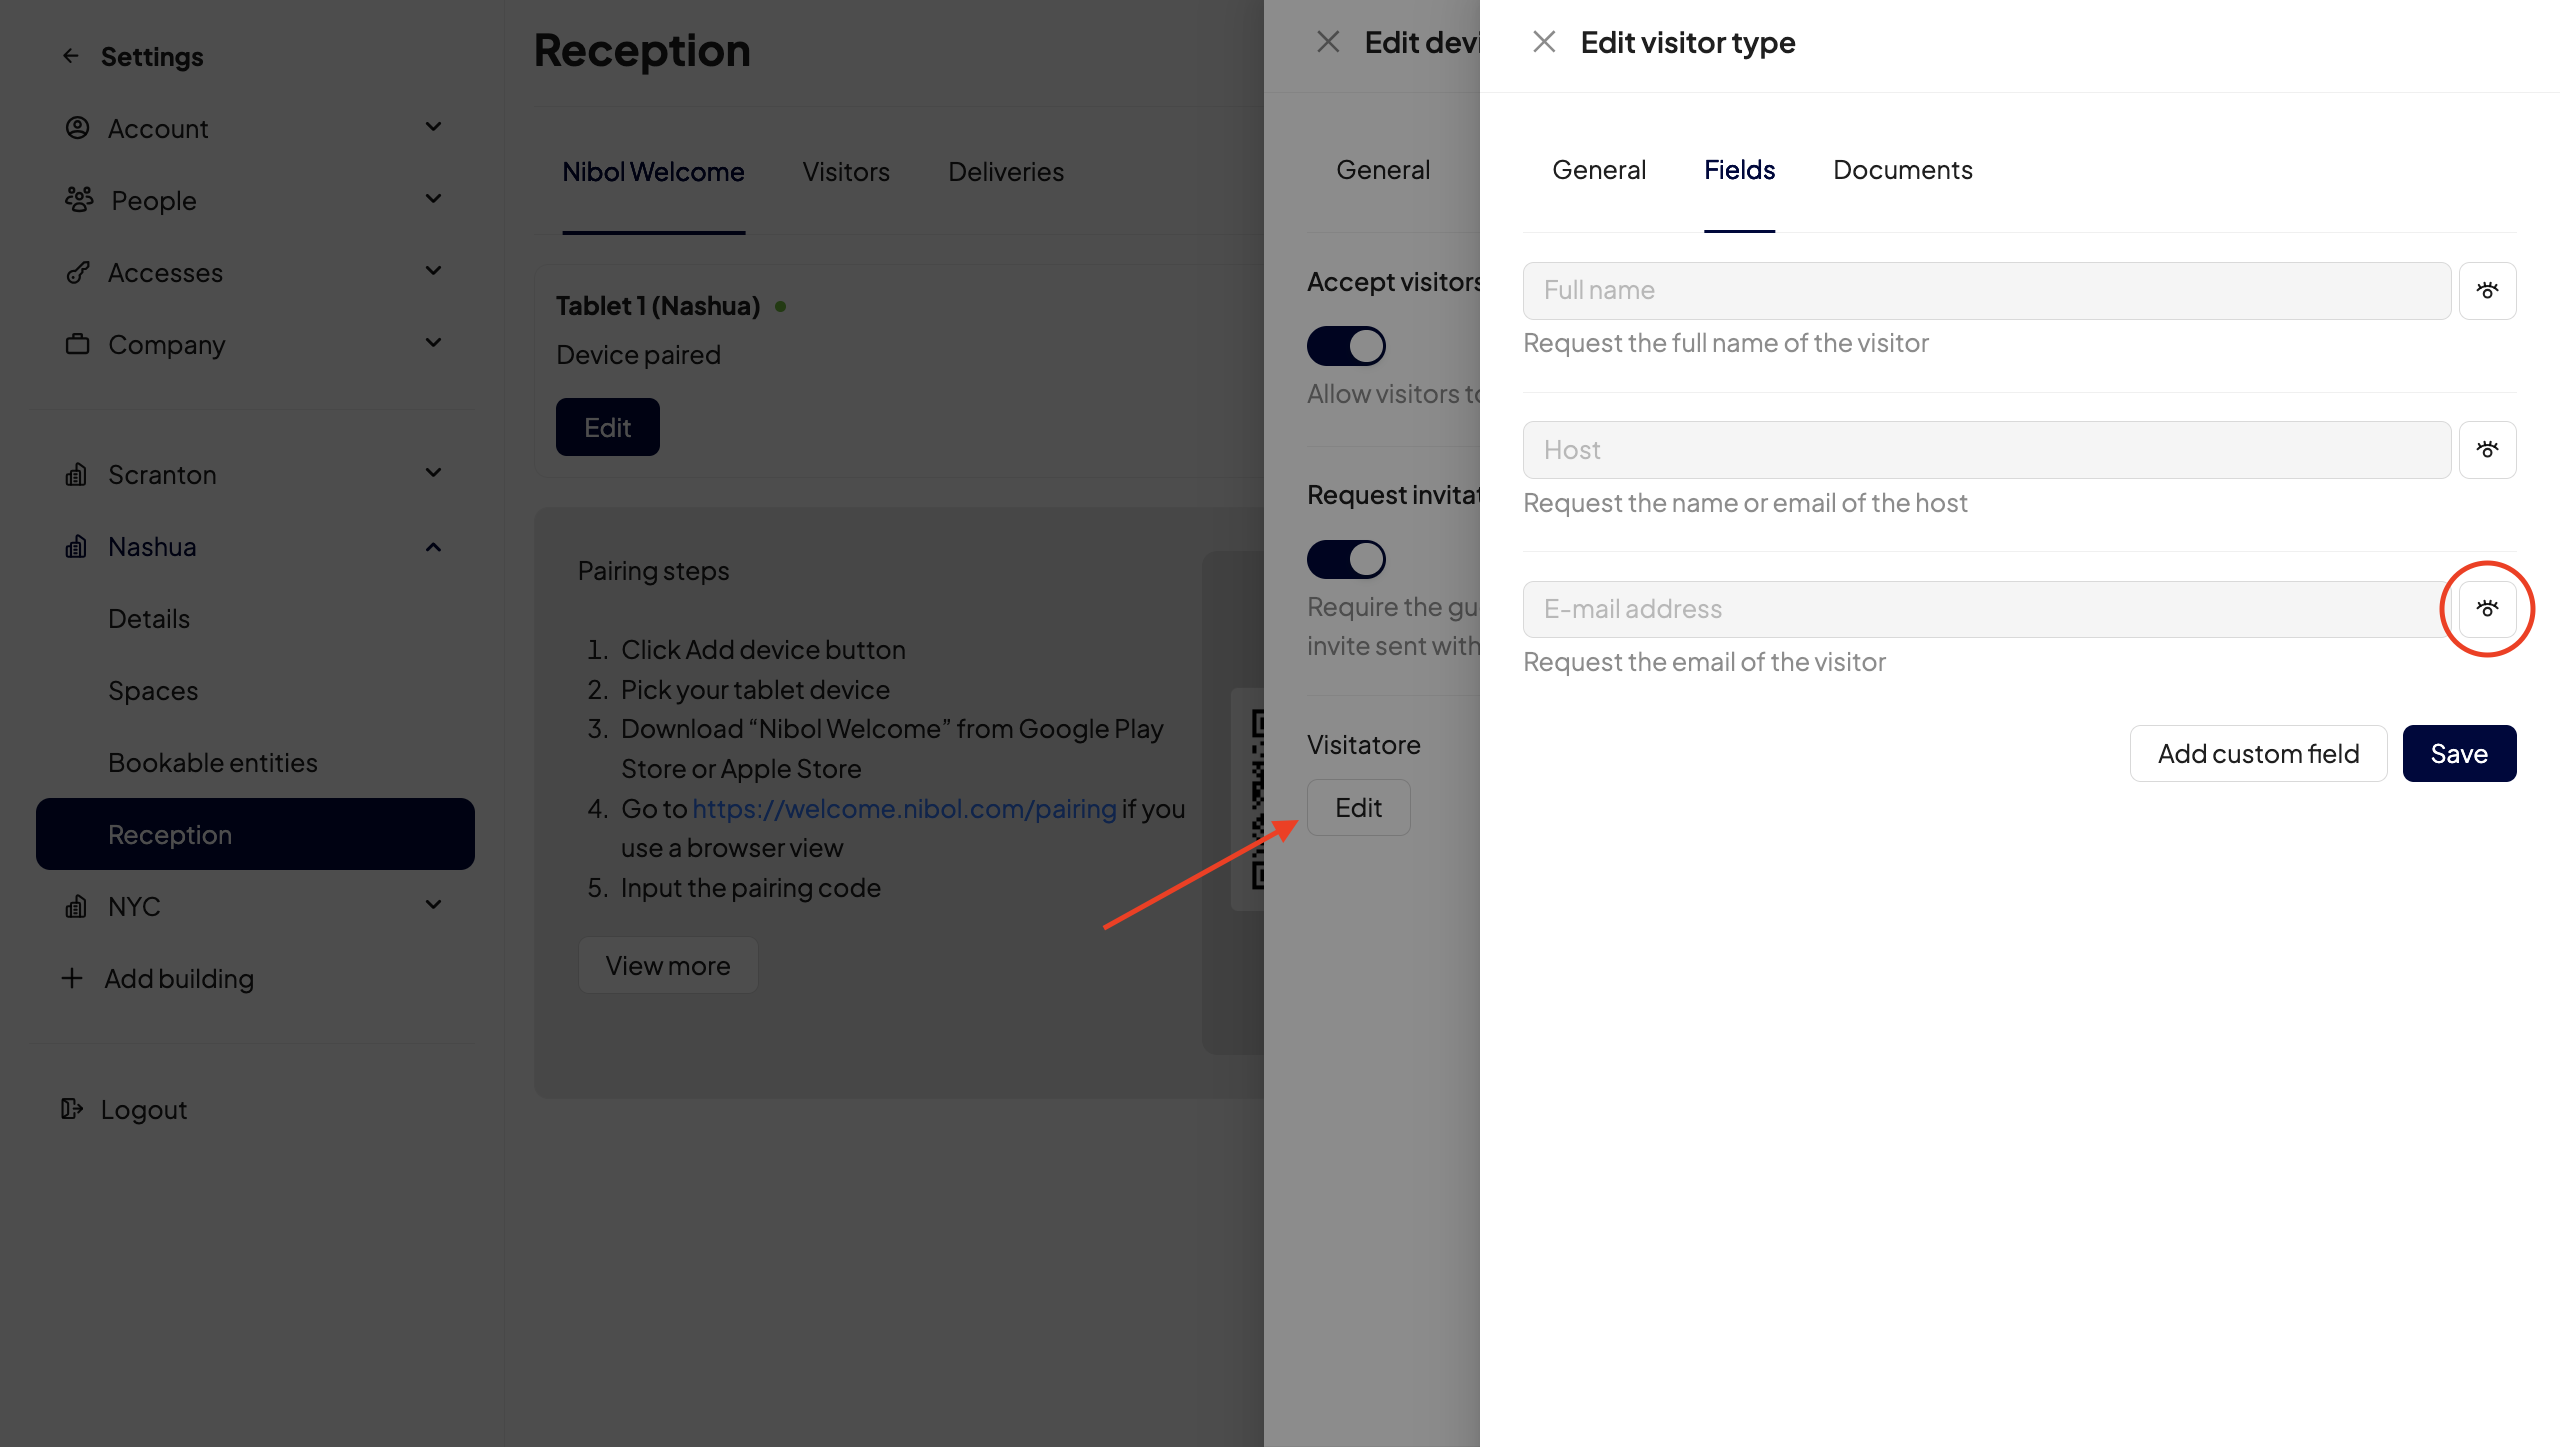
Click on the Edit button under the visitor type you want to customise to change the information to be requested.
Here you can:
Change the name of the type of visitor
Decide what information the guest must fill in when registering on a tablet, you can also enter custom fields > to not request a field just click on the eye symbol and close it 👁️
Add PDF documents that the visitor can read and accept during registration (such as privacy policy, NDA, etc.).
Below is an example of the result of setting up Nibol Welcome on a device: